
Bring Vintage Charm to Your Valentine's Day with a DIY Vintage Vase

Create a one-of-a-kind Valentine's Day present or decoration.
While bringing some vintage charm to Your Valentine's Day with a DIY Vintage Vase.
All you will need is a small vase and vintage valentine cards, which are easily found online.
How do you decorate a vase?
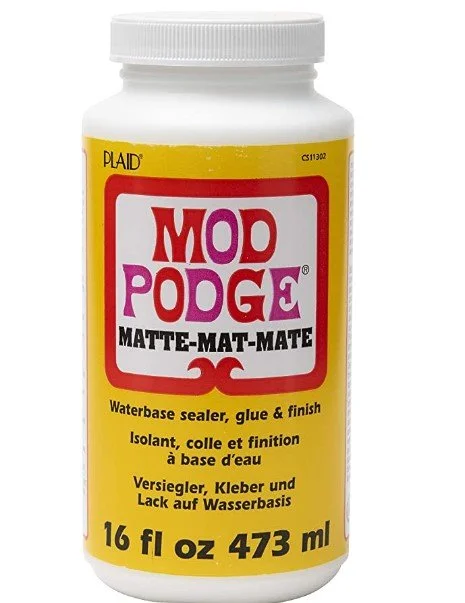
The easiest way is to paint, but we’re going to take it one step further and decoupage with mod podge.
Here's my step-by-step guide to how I decoupage a Vintage Valentine Vase.
If you're following me and share my appreciation for vintage style this DIY project is sure to be up your alley!
History of valentines
What is the history and why are they so dang cute! And where did they start?
Vintage Valentines are adorable and romantic cards that were popular during the Victorian period.
The history of Valentine's Day dates back to the 5th century.
The earliest known card as noted in history was sent by Charles, Duke of Orleans in 1415 to his wife while he was a prisoner in The Tower of London.
This card is housed in The British Museum.
My favorite era has to be the 1930s valentine day cards with cute sayings like "My heart leaps with joy when I think of you" The cards from this era evoke a sense of nostalgia.
They also have beautiful illustrations and vintage fonts.
Source: worldhistory.us/medieval-history/history-of-valentine-cards.php

What You’ll need:
small matte painted vase - I used a ceramic vase
small paint brushes
painters tape
small sharp scissors for a more precise cut
matte white paint
matte mod podge
printer
copies of vintage valentines

This article contains affiliate links, which supports the free content on this blog. As an Amazon Associates affiliate, I earn from qualifying purchases.


Tape off the area you plan to decopage valentines

paint the area with white matte paint where you’re applying valentines

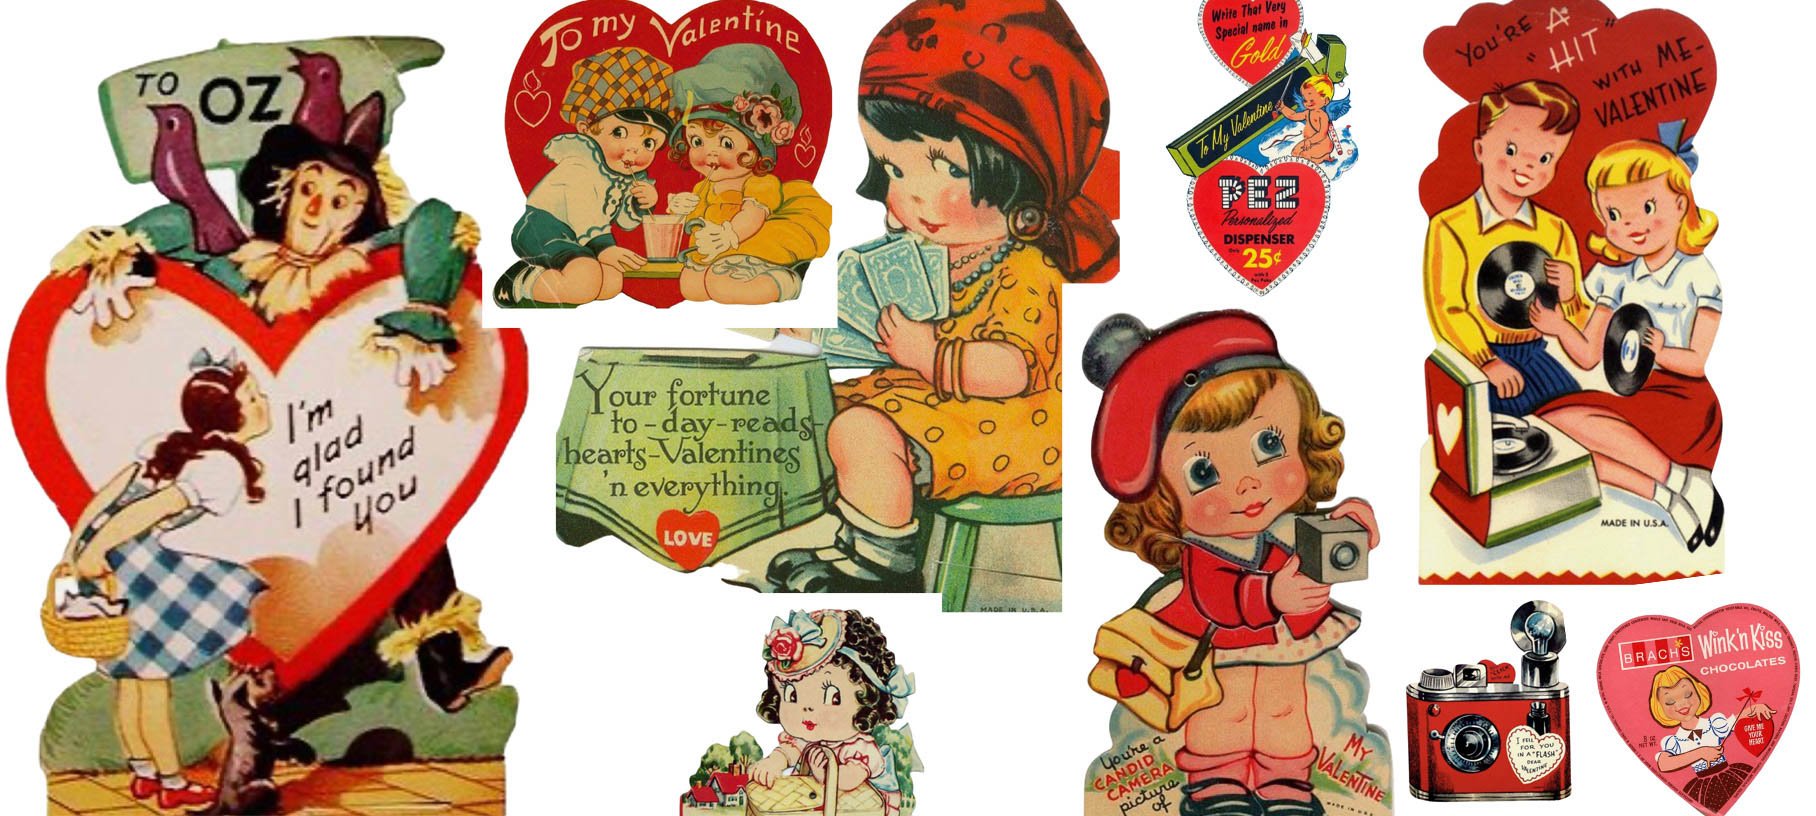
Here is a set of vintage valentines that you can print and use for your project. - for personal use only

calculate the distance you want between each Valentine


go over the top of the valentine with a thin coat of mod podge


DIY Vintage Vase Directions:
thoroughly wipe down your vase
then tape off the area you plan to decopage valentines
paint that area with white matte paint
let dry 1 hour
check you may need 1 or 2 more coats
print your valentines on regular printer paper with an ink jet printer
cut each valentine out as close to the image as you can get
calculate the distance you want between each Valentine
apply a thin coat of modge podge on the vase where you’re applying each valentine
then apply valentine to the vase
go over the top of the valentine with a thin coat of modge podge
don’t be heavy handed with the modge podge
working from the center out with the brush make sure to push out any bubbles
once all valentines are applied let dry 24 hours
Notes:
Pros and Cons
Pros:
I didn’t have the best ink in my printer so I was pleasantly surprised by how well the modge podge enhanced the colors of my valentines despite having a low-quality printer ink.
Very easy DIY craft to put together
Great beginner project
Cons:
This one is really my own fault I didn’t cut as close to some of the images as I should have, I should have cut more precisely around the images so that no paper was visible.
Why is it important to paint the decoupage area white?
Because you don’t want the color underneath coming through you want a clean image.


More great ideas you could decoupage onto a vase!
Newspaper clippings
Vintage book pages
Vintage print tissue paper
Vintage Maps
Vintage wrapping paper
Vintage Magazine cutouts
Final thoughts….
I’ve used mod podge to transfer images onto wood, but I'm new to transferring images to vases, but I was excited to give it a try!
This DIY vintage Vase for Valentines Day is a great way to get started with a simple and fun craft.


As an Amazon affiliate I may earn on qualifying purchases
