

TRANSFER VINTAGE IMAGES TO WOOD

Have fun making a DIY keepsake!
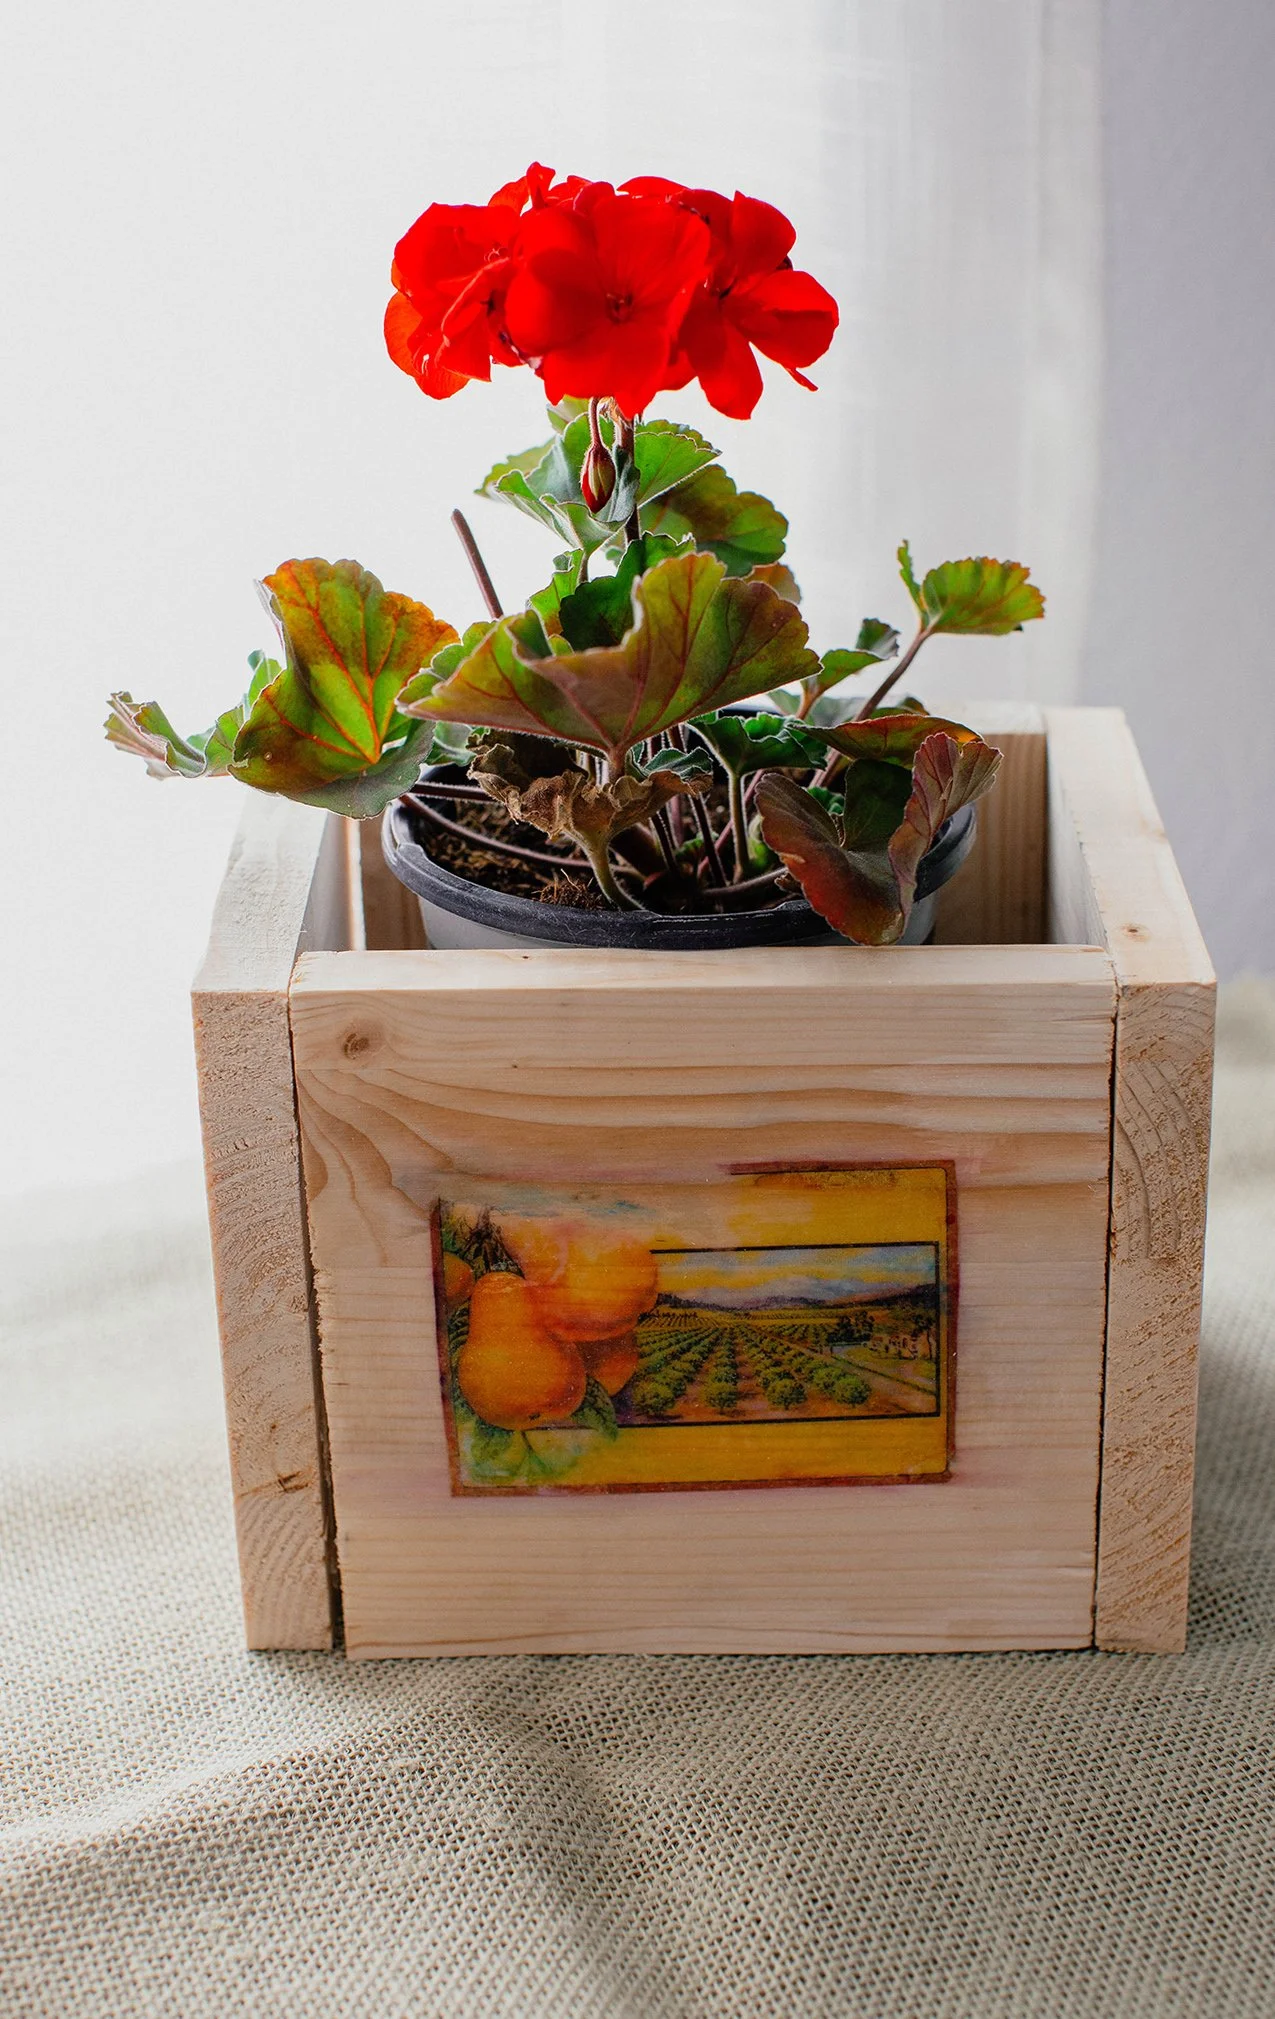
Transfer vintage images to wood using old photos, recipes or make your own vintage wood fruit crate with two processes for wood.
One with an ink jet home printer the other with a laser scanned photo! Enjoy creating a unique piece of art that will last generations.
DIRECTIONS: TRANSFER YOUR IMAGE TO WOOD #1


Supplies Needed:
Modge podge matte finish
Minwax polycrylic water based crystal clear finish
Pine board
sand paper 150 grit
An image printed on an ink jet printer/laser printer
Sponge brush (available in the craft section)
Old credit card or roller
Rag
Using an Ink Jet Printer
This isn’t going to be as clean as using a laser printer for your image, but if you're going for a vintage washed out looking kind of look this is great.
STEPS
Start with precut pine boards for your fruit crate and sand the edges of your boards.
Print out a fruit crate image, then flip the image in photoshop or use the image provided below.
Using a sponge brush, put a thin layer of mod podge directly on the picture face up.
Lay the image face down onto the wood, then using a credit card or roller, roll across the back of the picture pressing the image into the wood, so there’s no air bubbles.
Air bubbles are not your friend. If there’s air bubbles, there will be a blank spot on the wood.
Set aside and let dry for 12-18 hours with the image on the wood.
The next day using a damp rag gently dab the image with water, but don’t soak it.
Use your finger and gently start rubbing off the paper taking off the first layer wait about 10 minutes.
again wet image with a rag or finger and rub off another layer you don’t want to get the paper too wet
because your using ink jet ink and it can smudge.
Continue rubbing until you have most of the layers of paper off and you see your image with the ink jet I rub off the paper until I start seeing smudging then I will let dry.
Once dry you might see a little bit of paper, but that's ok take just brush on a layer of poly and let dry because the image will come back with the poly and the polycryic will protect your piece.
Let dry for one hour!
Then put your cut boards together with small nails or glue.
a flipped image is provided.


TRANSFER VINTAGE IMAGES TO WOOD #2
Use a Laser printer.
Laser copies are a must for this project copies and can be made at Kinko’s, Stables etc.


This time, try an old photograph on a piece of pre cut pine wood.
STEPS
Scan and flip your photo and send to a local Kinkos or Staples because you need a laser printed copy.
Using a sponge brush, put a thin layer of modge pod on your copy on the picture side.
Press picture side down onto your wood using a credit card or roller press the image into the wood rolling across the image and getting rid of air bubbles.
Let dry for about an hour, then set something heavy like a book on the photo to really press that toner into the wood
and let dry for 24 hours.
Same as the ink jet take a rag and wet the paper and slowly start wiping off the paper with your fingers.
Take your time you can let it dry, then wet with a cloth, rub more of it may take 5 times to get the paper all off
but eventually the photo will show more and more until you only see your photo.
Put a thin layer of poly on with a sponge brush to protect! and it will also bring out more details
Let dry for an hour.


NOTES:
I cut my wood board into manageable blocks, but on my next project i’m going to cut the wood to the exact size needed.
I sanded and cut them after the pictures were on and I didn’t like the sawdust going on my pics :)
There is a bit of a learning curve so you might want to do a couple practice ones to start out but so worth it they are so cute!


